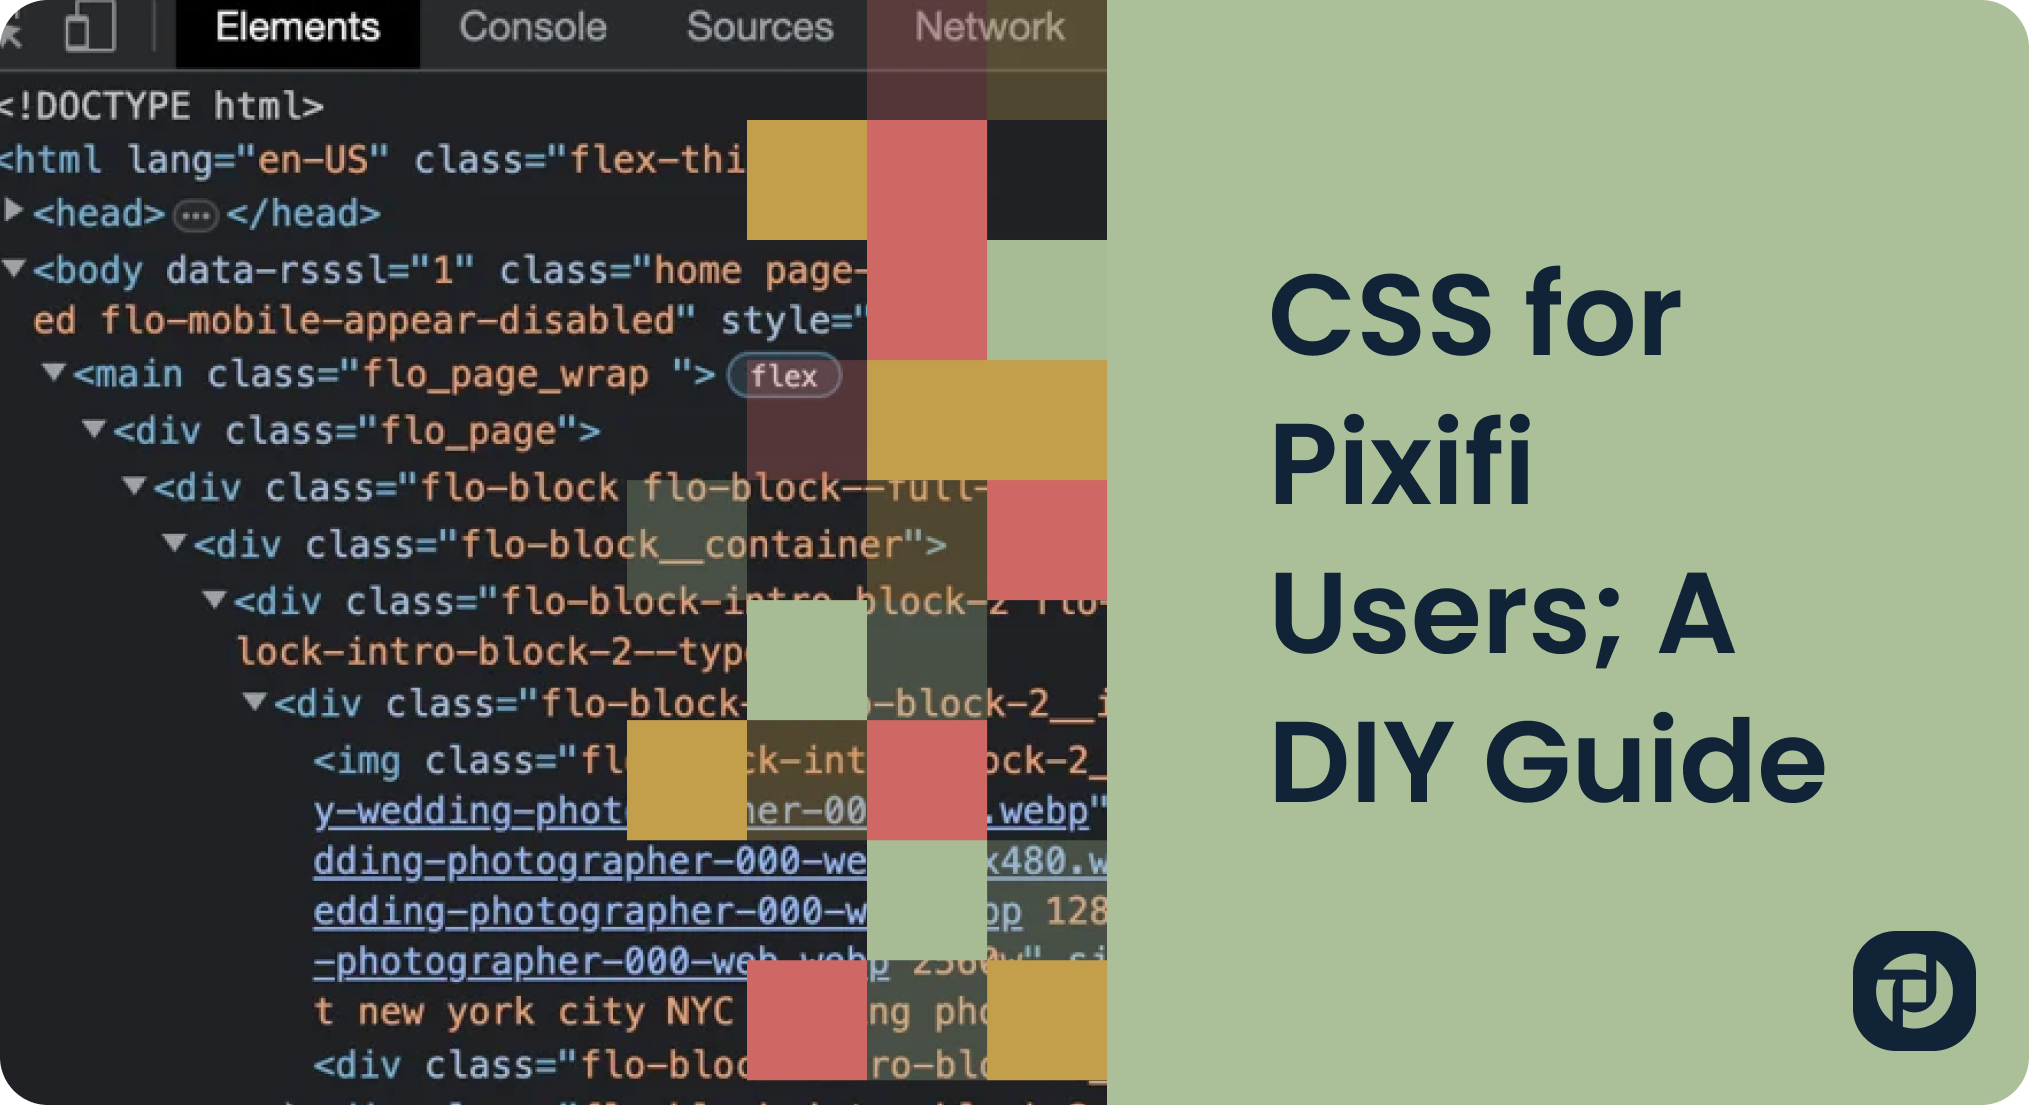
CSS for Pixifi Users; A DIY Guide
Hey there, Pixifi power users and passionate shutterbugs! Ready to give your Pixifi page an aesthetic upgrade that mirrors your creative flair? CSS is your best buddy here.
Don't fret if code isn't your strong suit - we're going to break it down step-by-step so you can add a splash of style to your email templates, booking pages, questionnaires, and inquiry forms in Pixifi!
What CSS does is turn this:

into this!
(credit to Amy Kimball Photography for her stunning booking page!)

I. Understanding CSS Basics for Photographers
CSS, short for Cascading Style Sheets, is a powerful tool that brings life and visual appeal to websites. It is like a virtual wardrobe for web pages, allowing you to dress up your Pixifi email templates, booking pages, proposals, questionnaires, inquiry forms, and more with various styles, colors, and layouts.
Hint: If you open up your website, right click and scroll down to click "Inspect": this will pop up:

THIS is CSS in action on your website:

You actually already have a CSS if you have a website set up. Which means..you can actually directly copy paste the CSS style guides from your website source over to Pixifi, saving you tons of time!
There are three types of CSS styles you can use:
- Inline: These styles are like bespoke suits, tailored directly into HTML tags. For example:

- Internal: These styles are written in the head section of the HTML document. It's like a wardrobe plan for a specific event.

- External: Here, styles are saved in an independent .css file linked to your HTML. It's like a whole fashion line.

Each style has its strengths and is used based on the project's requirements.
But no matter the type, CSS follows a simple syntax:

The selector is the HTML element you want to style, the property is the aspect you want to change (like color, font size), and the value is how you want to change it.
For 90% of our templates and forms, all you really need to know is what a CSS syntax is and how to customize this!
II. Core CSS Properties for Pixifi Users
Some of the CSS classics that you can use to jazz up your Pixifi page are:
- color: sets the text color
- font-size: adjusts the size of your text
- border: gives your elements a frame
- margin: sets the space around your elements
- padding: controls the space between your element border and its content
Here is where you can test and play with your CSS style guides in Pixifi. Go to Settings >>> Edit Brands >> Scroll all the way to the bottom where it says "Advanced Styling Options".

III. Styling Your Pixifi Page with CSS
Now, the fun part! Let's add some flair to your Pixifi page. Whether you want your page's color to match your brand's logo, or you're after a particular typography style, CSS can make it happen.
General Styling
1. Adjusting Font Sizes
To change the font size of text elements, you can use the "font-size" property. For instance, to increase the font size of headings, try this and customize the px to 36, 48, etc:

2. Changing Colors
To modify the color of various elements, such as text, backgrounds, or buttons, you can use the "color" or "background-color" properties. For example, to change the background color of a section, you can use the following CSS rule:

Tip: Not sure what color you want? Use a Chrome extension like ColorPick Eyedropper to figure out the exact hex color and decimal value!
3. Adding Background Images
To include a background image on your page, you can use the "background-image" property. For instance, to set a background image for a specific element, such as a div with the class "banner," you can use:

Note: Notice that you have to replace a url? This bit of code allows you to use an image stored locally on your computer, not a publicly hosted image (say off your website or gallery).
If you want to use a publicly hosted image, you would need to provide the URL of the image as the value for the background-image property. It would look something like this: 'https://example.com/path/to/image.jpg'
Buttons, Headers/Footers, and Aligning Text & Images
When it comes to customizing your Pixifi emails and inquiry forms, we can get more specific!
1. Modifying Button Styles
To change the appearance of buttons, you can use CSS properties like "background-color," "color," and "border." For example, to create a custom-styled button with a blue background and white text, try:

2. Adding Custom Headers and Footers
To personalize the headers and footers of emails or forms, you can use CSS to adjust the styling. For example, to add a custom header with a background image and centered text:

3. Aligning Text and Images
Want your inquiry form to be centered? Or aligned to left? Prefer images all aligned to the right? This is the CSS rule for you! To control the alignment of text and images within elements, you can use CSS properties such as "text-align" and "float."
For instance, to align an image to the right with text wrapping around it, you can use the following CSS rule:

For Questionnaires and Advanced Inquiry Forms
1. Adding Conditional Fields
To display or hide fields based on user selections, you can use CSS in conjunction with JavaScript. For example, if you have a dropdown menu and want to show an additional input field when a specific option is selected, you can use CSS to hide the field initially

And then use JavaScript to show it when necessary based on user interaction.
2. Styling Radio Buttons
To modify the appearance of radio buttons, you can use CSS to customize their size, color, and layout. For instance, to make radio buttons larger and change their color, use:

Wait, but what are radio buttons?
They are super helpful if majority of your leads and clients access your website, forms, questionnaires via mobile.
They look like this:
3. Customizing Dropdown Menus
To style dropdown menus, you can use CSS properties such as "background-color," "color," and "border." For example, to change the background color and text color of a dropdown menu, try:

IV. ShortCuts
These CSS codes were generated by our Pixifi members in the Pixifi Facebook Support Group. Special thanks to Tony Cooper, Graham Crichton, and Tim Hussey!
For Pixifi booking pages:
In general, you can customize any one of these fields for your Pixifi booking page to match the look and feel of your website better. This bit of code allows you to change the background color, button color, and color of the time slot boxes.

Remember to remove the #.... and replace it with the color codes that best match your brand colors!
If you want to change the background to make it transparent, you can use:

If you would like to change the color of the cart button, use:

To change the color of the submit button, you can use:

To add more space under a product button on the booking page to better divide up your products or services, try:

If you would like to hide the prices of your products/services ( eg: if you want to build a specific booking page for complimentary consultations with leads and potential clients), use:

or to hide the price on products list in general, use:

For Pixifi inquiry pages:
This is a general outline of what you can customize in your Pixifi inquiry page.

If you want to change the name of the header for the custom fields, you can add this:

Note: You will need to replace the "Event Information:" text with the text you would like your main custom field header to have.
To change the color, position, or font of your submit button, you can use this:

IMPORTANT: Do play around with one design at a time! If you are customizing your inquiry page, stick with it until you've gotten something approximately 80% close to what you'd like, before jumping on to try customizing your booking page, email templates, etc.
V. Advanced CSS Concepts for Pixifi Users
Once you've got the hang of CSS basics, you can delve into the world of advanced CSS. This includes exploring the concepts of CSS positioning, pseudo-classes and pseudo-elements, as well as Flexbox and Grid for responsive design.
Sounds like a lot? Don't worry , here is a list of FREE resources for you:
- CSS Positioning - MDN Web Docs: This resource is excellent for understanding the nuances of CSS positioning.
- A Complete Guide to Flexbox - CSS-Tricks: This guide helps you comprehend the power of Flexbox for creating responsive designs.
- Grid - CSS-Tricks: A comprehensive guide to understanding and implementing CSS Grid.
VI. Creating Your Own CSS Styling Guide
You know what's uber-cool? Having your own CSS style guide. It not only keeps your website styling consistent but also saves you a ton of time when maintaining your site.
Here are some additional fantastic resources to help you do this and keep your branding consistent and updated:
Phew! You made it to the end of this guide! We are proud of you 🎉
Let us know how it goes? For more questions or feedback, write us at support@pixifi.com.
Looking for an easier way to manage and grow your studio? Experience a platform built by a photographer, for photographers. Try it free for 2 weeks.